
Table of Contents
Images are one of the most powerful tools to enhance your Power BI reports and present the data story in a more meaningful and “colorful” way (please don’t take this “colorful” meaning literally). And, when it comes to working with images, Power BI offers you a whole range of capabilities – some of them I’ve examined in this article.
Upload background image
Adding an image as a background for your report page is fairly simple. I’ve downloaded this photo from Unsplash and, in literally a few clicks, I would set this photo as my report page background:

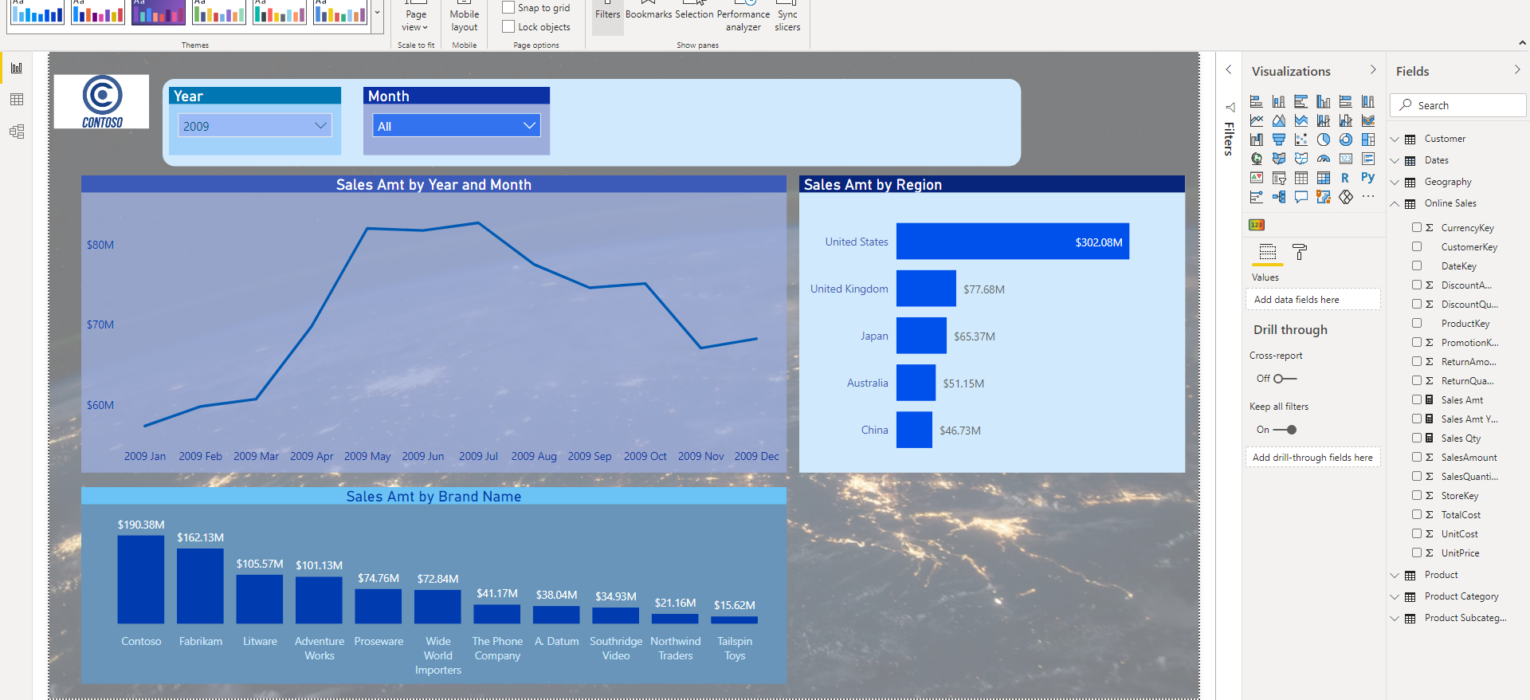
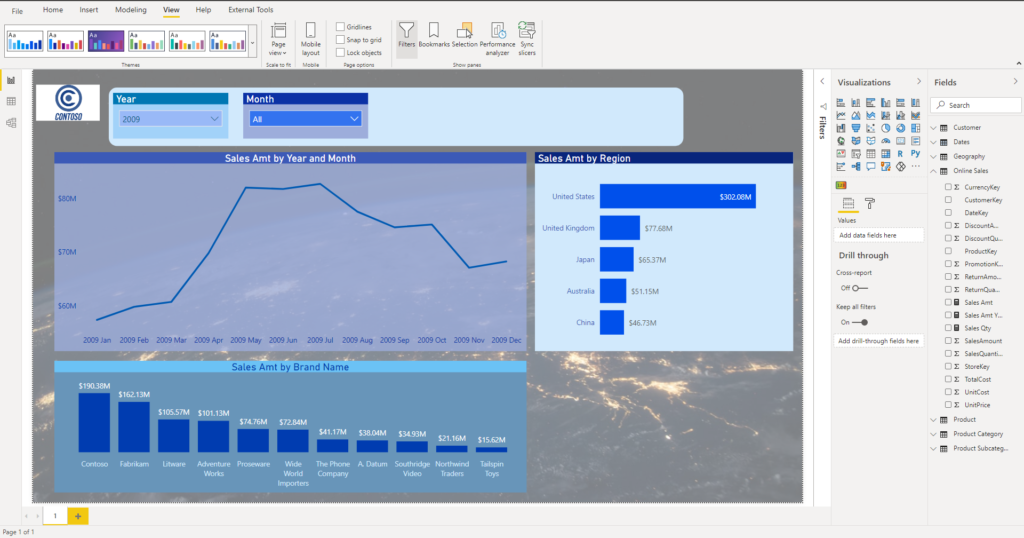
Once I’ve set this image as a background, and set Transparency to 50%, my report page looks like this:
If you wondered what happens with this image in your Power BI report, if you delete the image from your local storage, or change the file name…You don’t need to worry – once you’ve uploaded the image to your report, it permanently stays there as part of your .pbix file!
But, imagine that your report has 20 pages, and you need to apply previous steps of uploading and transparency setting in each of those 20 pages! Or, even worse, if you have 50 reports that need to be changed to include this image as a background…
Image as a part of the report theme
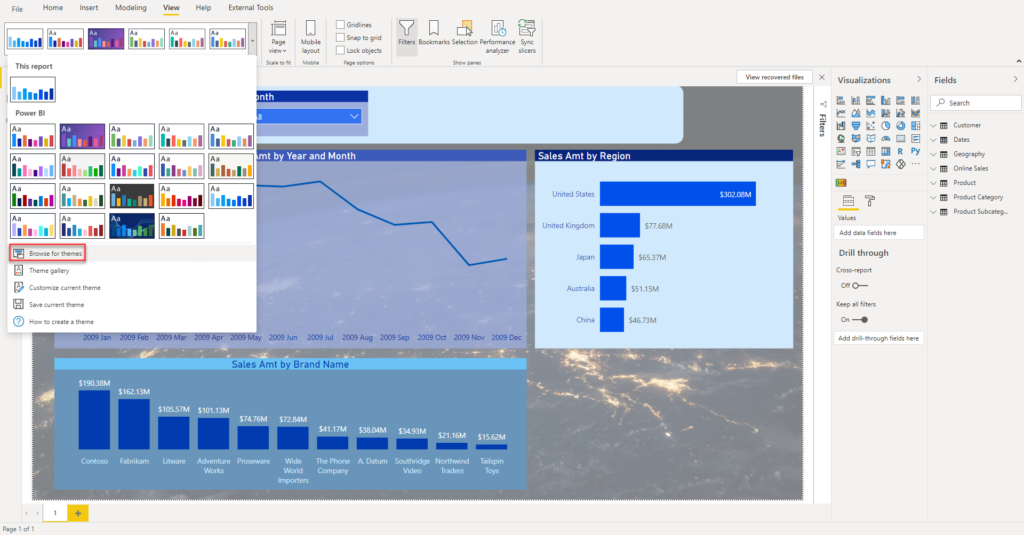
Luckily enough, there is a quite handy solution to this challenge. I suppose that you are aware of the theme gallery within Power BI Desktop. You can choose between a whole bunch of built-in themes, but you can also import your own themes!
Moreover, you can customize the existing theme, adjusting different parameters according to your needs. One of the things you can customize is also a Page background:
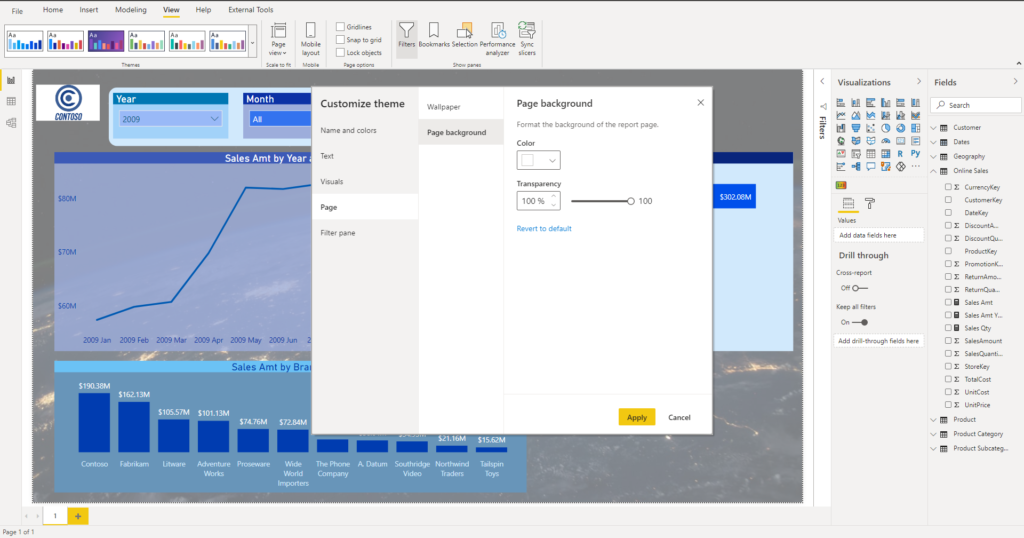
Oh, wait…I can’t set an image as a background, and include it as a part of the theme:(
But, what if I tell you that you can do that, with a little tweaking? Let me show you how you can achieve that.
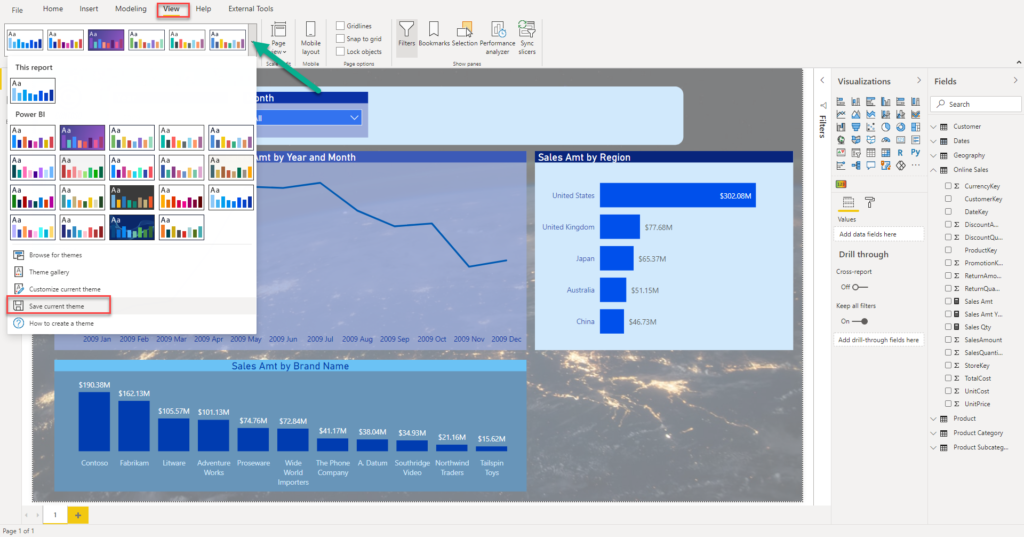
Essentially, a report theme is nothing but a JSON file. And, this means that (almost) all properties can be customized! So, I will go and save my current theme as a JSON file:
Let’s now open the file using Notepad++ and check what’s in there:

Nothing special – typical JSON file with key-value pairs. Only “name” property is mandatory, all the others are optional. Let’s set now property for the report page background.

As you may notice, we’ve added a new code snippet that will handle the visual styles of our report theme. “Page” means that we want to apply this style to a page element, “*” instructs that this style will be applied to all report pages, and finally, we set “background” as a property to which the defined style will be applied.
The trickiest thing is the “url” property. How do we set this property in JSON file?
Here is where the magic happens…
Well, we’ll need to quickly go out of our comfort zone and perform some workaround. This workaround requires converting an image into a Base64 scheme. This scheme will “convert” a binary image data into an encoded string – and we can then use this string as our URL!
There are a lot of free online converters and I will use this one. Once I get the encoded text, I will paste it in “URL” and finally set transparency to 50, like in our previous example with the manual upload.
Let’s import our customized theme into Power BI Desktop:
And once I did that, let’s check what happens once I want to create a new report page:
As you can see, this works perfect! No need to manually set background image for every single page – by defining all the properties within the theme itself, we are now able to automatically apply our image on each page.
Additionally, if we need to change existing reports’ backgrounds, we would just import the customized theme and we are good to go!
Here is my JSON code snippet, just as a helper. Of course, you should adjust it according to your needs:
{"name":"Storm"
,"visualStyles": {
        "page": {
            "*": {
                "background": [
                    {
                        "image": {
                            "name": "Planet",
                            "scaling": "Fit",
							"url": "Put your Base64 code here"
                        },
                        "transparency": 50
                    }
                ]
            }
        }
    }
,"dataColors":["#8BC7F7"
				,"#46B3F3"
				,"#009FEF"
				,"#008CEE"
				,"#0078ED"
				,"#0050EB"
				,"#0641C8"
				,"#0B31A5"
				,"#46647C"
				,"#235A7A"
				,"#005078"
				,"#004677"
				,"#003C77"
				,"#002876"
				,"#032164"
				,"#061953"
				,"#FDAB89"
				,"#B687AC"
				,"#28738A"
				,"#A78F8F"
				,"#168980"
				,"#293537"
				,"#BB4A4A"
				,"#B59525"
				,"#475052"
				,"#6A9FB0"
				,"#BD7150"
				,"#7B4F71"
				,"#1B4D5C"
				,"#706060"
				,"#0F5C55"
				,"#1C2325"]
,"tableAccent":"#8BC7F7"
,"maximum":"#8BC7F7"
,"center":"#0B31A5"
,"minimum":"#D2D3D5"}
Thanks for reading!
Last Updated on January 20, 2023 by Nikola


Weekly Data Round-up 06 – 18/12/2020
[…] Extend Power BI theme with an image! – Nikola Ilic (@DataMozart), MCT, has blogged a really great trick to add images to a Power BI theme to automate adding images to Power BI report pages. Read more. […]